 Visual Communication
(Easy to Download Version Below)
Current research says that as many as 25% of people with ASD are non-verbal. Others can talk but have difficulty communicating their needs, they maybe echolalic, selective mute* or have limited words. Unfortunately some children with regressive autism may learn to talk and lose their words and they do not return. Giving children an AAC (Augmentative, Alternative Communication) is vital. AAC and visual supports can do more than take the place of speech – they typically foster its development.
Picture Exchange
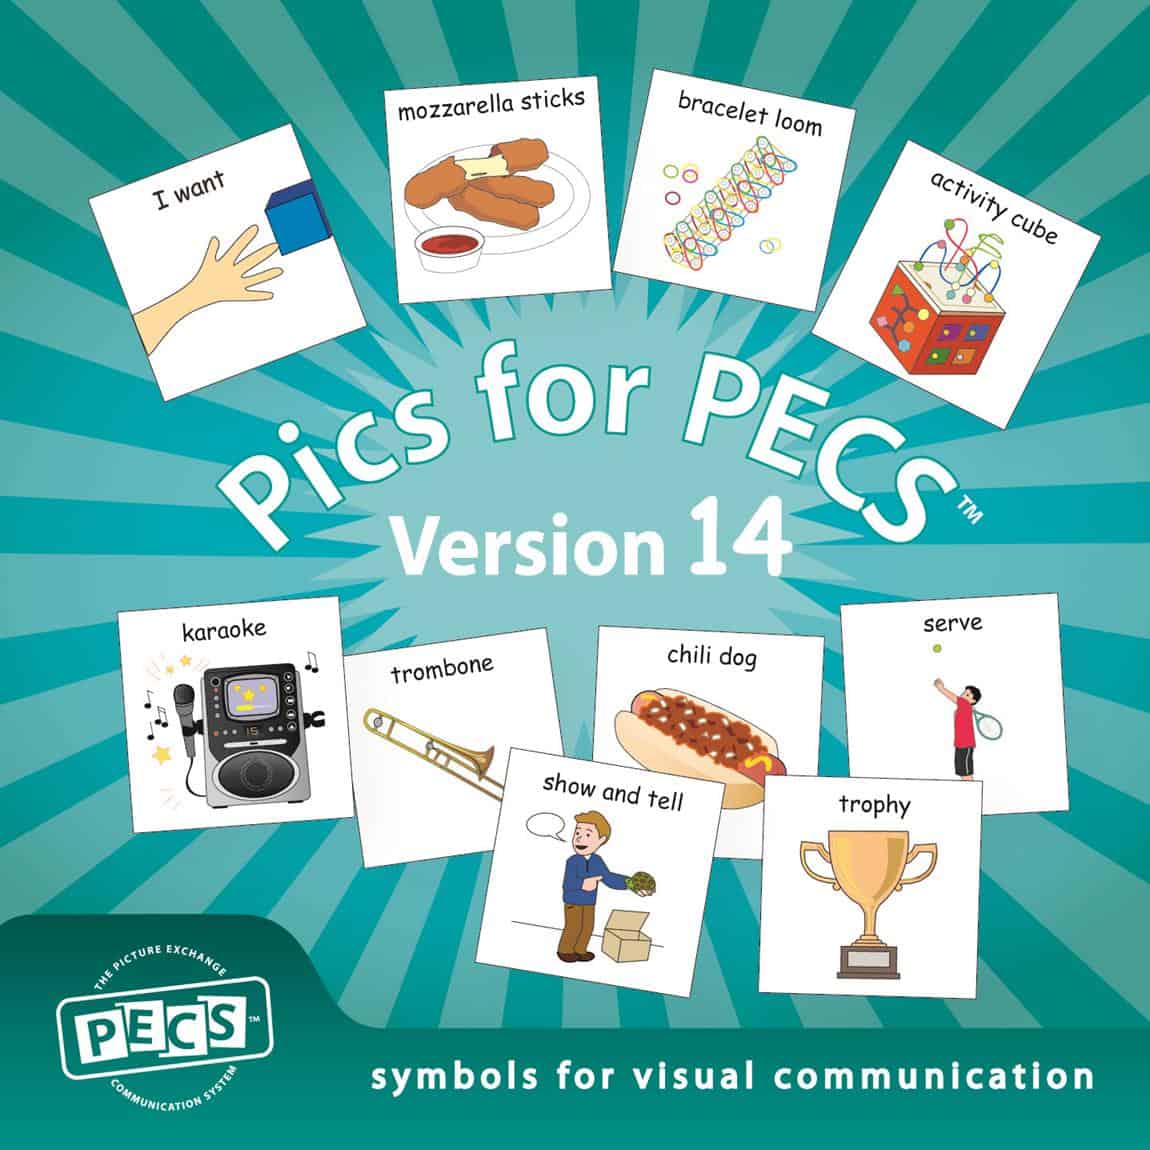
Picture exchange is the most common AAC taught to young children with disabilities to help them communicate their needs and wants. Symbols or pictures are used and adults or support people can provide the voice for the child. There are a number of picture or symbol exchange communication programmes. It doesn’t matter which one you use and its fine to use a variety of different types. The best value for money system is Pics for PECS – over 2,000 of the most commonly used symbols for just $65.
Symbol cards should always reinforce literacy. Always put words at the top with the symbol at the bottom. Once children start pointing at the symbol they will inadvertently ‘hide’ the word with their hands if it is below the symbol. Children need to be exposed to literacy right throughout childhood and early school years.
How to Teach Picture Exchange
Set up situations for the child to request items. Choose two items that the child may regularly request, if they could – for example orange juice, biscuit. Make up symbols for these items, as well as symbols for I WANT. It is useful to have a sentence maker or strip on an incline.

- Place the “I WANT” symbols on the sentence maker or strip, or place them flat on a table top, and have just ONE symbol below.
- Ask the child “What do you want?”
- Help the child to select the symbol and place it up on the strip.
- Make the child point to each symbol as you read it “I WANT BISCUIT”.
- Give the child the biscuit.
- Praise the child.
After a few trials of this, add in a second choice for the child – make sure it is something that they will actually want! Give the child whatever item they select i.e. biscuit or juice.
Once you have this system in place and the child understands how to request make the child request in this way EVERY TIME. Fade your prompting of their requests – rather than saying ‘What do you want’ every time, begin to fade your prompt by pointing toward the symbols so the child knows to use them to request.
Including full sentence structure sets the child up for long term learning. But they do not necessarily need to put up all of the symbols in the beginning. Use backward chaining – start with “I WANT” already on the strip so the child only needs to put up the last symbol. Next try just the “I” up on the strip. Finally make the child put up all three.
7 Top Tips for Developing Successful Communication
- Be PERSISTENT – try and try and try again. Don’t give up too soon. I have seen some students seem to show no interest/understanding and then it just “clicks” and they amaze me how well they can use visuals/communication aids.
- Be CONSISTENT – give the child regular and reliable opportunities to see and learn a visual/communication aid.
- Repetition with variety. Use the same visuals/communication tools in different places with different people to ensure transferring (generalising).
- Be FLEXIBLE – ready to evolve and make changes on the run to meet the changing needs of our children/students and the environment.
- Use their interests – start with activities, foods, drink that they have an intrinsic motivation to want. If they love BBQ shapes start with the picture/photo/packet. If they love Wiggles DVDs start with the DVD case or a photo of the case as the visual.
- PLANNING – the success and whether it is being used or not, can often come down to how much individualised planning is being done. I know it is time consuming but you need to be constantly adding, changing visuals as the child’s interests and needs change.
- Easy and instant access. Always make multiple copies of any visuals/communication tools so everyone and every environment has the same visuals/tools etc. It is okay they get left in pockets, handbags etc. as that means they are being used, so just make multiple copies.
- We need to keep on MODELLING – sometimes our students can need to see us using the visual/ communication tool before they start using it effectively
*Also see our website for resources on Selective Mute.
|
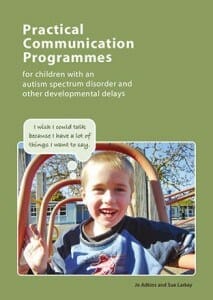
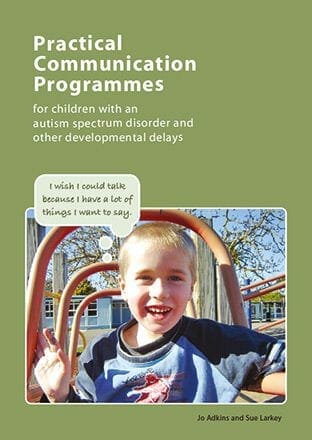
Resources to Teach Visual Communication Practical Communication Programmes: By Jo Adkins and Sue Larkey Communication is the biggest area of skill deficits in nearly all children on the autism spectrum – whether it is little to no verbalisation, social skills or simply understanding spoken language. This book offers hundreds of ideas and strategies to improve communication skills – including picture exchange, teaching literacy skills, and emotions. It includes activities and resources you can photocopy. CODE B19 $45 (incl P & H)
Pics for PECS CD This CD contains over 2,000 icons! Icons are organised by broad categories: alphabet, animals, attributes (colours, sizes, shapes), body parts, food/drinks, locations, numerals, sentence starts and songs, vehicles, actions/verbs, musical instruments and clothing. Images are in jpg format and may be used as clip art images. Compatible with all Word programs and newer Apple. CODE C02 $65 (incl P & H) |
|


 Sorry we no longer ship items outside Australia. Please consider the digital versions of Sue’s Books –